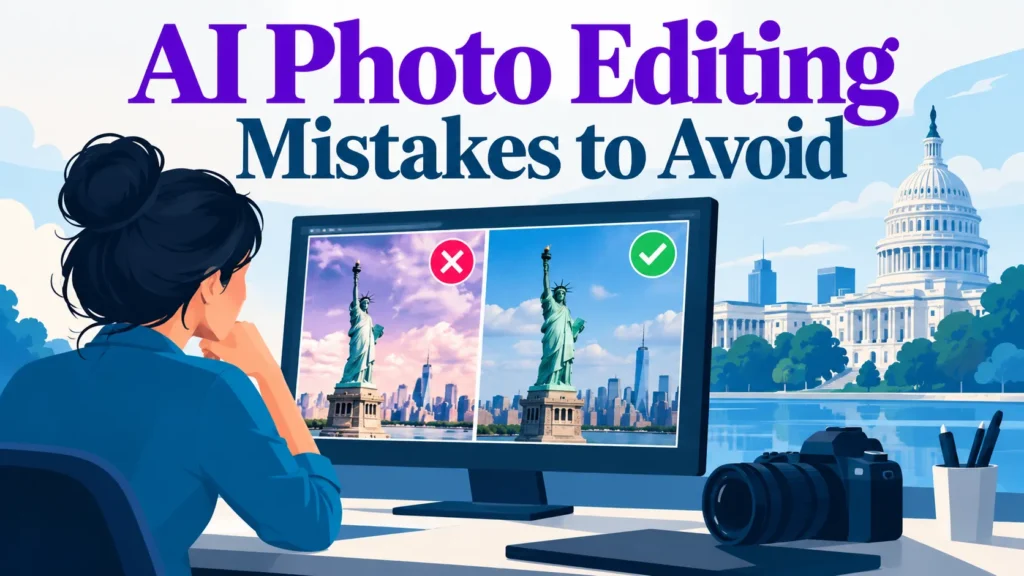
AI renders often look convincing on a phone, but at 100 percent zoom, skin texture may be wiped clean, hair edges may bleed into the background, or a hand may have seven fingers. Check before publishing.
Most AI photo editing mistakes are predictable. This guide sorts common artefacts by visibility and repair cost, and sets one rule: stop re-prompting when a manual fix is cheap. It suits beginners, headshot photographers, and marketers preparing photos for Amazon, Etsy, Shopify and social media.
Top AI photo editing mistakes to avoid: over-smoothed skin, hair halos, colour drift, distorted hands or text, and drifting faces. Fixes: texture layer, refined mask, grey-card white balance, regenerated region, locked reference image.
Check edits at full size, since thumbnails miss flaws.
Fix cheap flaws by hand. Regenerate costly ones with a tighter prompt.
Table of Contents
Why Predictable Artefacts Matter More Than Random Ones
Over-Editing, Over-Smoothing, and Other Tonal Mistakes AI Makes Worse
Structural and Sharpness Artefacts: Background, Edges, and Contrast
Prompt and Process Errors That Cause AI Artefacts
When to Fix by Hand: A Decision Framework
Does the Artefact Matter for Your Use Case?
Counterpoint: Sometimes Re-Prompting Is the Right Call
Conclusion: Edit With Restraint and Check at 100%
Frequently Asked Questions
Why Predictable Artefacts Matter More Than Random Ones
AI photo editing tools work fast, so their flaws are easy to miss. Waxy skin, hair halos and wrong-way shadows often appear only at 100% zoom, so it helps to inspect each image closely before you accept it.
Decide flaw by flaw. If the fix is cheap and the flaw is visible, repair it by hand. Re-prompting often creates a new artefact elsewhere, so each extra prompt is a gamble.
Over-Editing, Over-Smoothing, and Other Tonal Mistakes AI Makes Worse
Over-Editing and Natural-Looking Adjustments
AI tools tend to push brightness, saturation and sharpness the same way, and Affinity’s beginner mistakes guide warns these are often pushed too far. Compare the original and edit side by side at the same size. If a grey sky turns saturated teal, reverse the change. Professionals who start with a light touch and build up usually produce more natural photos.
Over-Smoothing Skin in Retouching
Plastic, overly smooth skin is the biggest giveaway of AI retouching. Repair it by duplicating the layer, blurring the copy, then blending texture back at 30 to 40 percent opacity until pores show. If the person would not recognise themselves, the edit is too heavy.
Oversaturation and Incorrect Colour Temperature
AI models often add warm or cool casts that do not match the scene’s light. Check neutral greys and skin tones against a reference card, then correct white balance. This is one of the most common photo editing mistakes, and it is easy to fix before you create the final version of your work.
Structural and Sharpness Artefacts: Background, Edges, and Contrast
Poor Background Editing
AI background blur can leave a bright ring around hair, and one glasses lens can stay sharp while the other turns cloudy. A halo a few pixels wide at 100% is usually fixable, but anything wider is a regeneration candidate. Creating a clean edge means refining the mask rather than re-prompting.
Worked example: a 4-pixel halo along hair was fixed by refining the mask at 100% and cloning background over lost strands. Re-prompting only moved the halo.
Oversharpening Images
Oversharpening, often from AI sharpening stacked on an upscale, leaves a bright rim along contrast edges. Judge sharpening at 100% zoom, as Buzz Photography’s guide recommends. Keep the amount low, or sharpen only the subject with a mask. This is a common photo error that is easy to avoid.
Overusing Contrast
Crushed shadows and blown highlights erase texture the original held. Repair with a tone curve or masked adjustment, and compare against the original before saving.
Editing with Restraint
Stop each adjustment one step before it looks obvious. Starting in a large format also helps, as Affinity’s guide describes. Reviewing common mistakes in your own work, and checking a short video tutorial on the technique, can speed up learning.
Prompt and Process Errors That Cause AI Artefacts
Most AI photo editing mistakes start in the prompt. Name the region, the amount and the intended result, such as “soften the background behind the subject, keep the foreground sharp.”
Vague or Unclear Prompt Instructions
Loose requests invite the model to rewrite more of the frame than intended. Specific instructions produce more predictable results, especially for real estate and free listing photos.
Overloading Prompts with Too Many Changes
Combining lighting, background, expression and colour changes forces trade-offs. Split the work into sequential passes to avoid the common mistakes that come from bundling too many edits into one request.
Ignoring Lighting and Composition
Edits that disagree with the scene’s light direction or perspective look fake. Check shadow direction and horizon alignment before publishing to any social media channel.
Inconsistent Style and Character Across Edits
Faces and colours drift across a set. Lock a reference image and compare every output against it, so the series looks cohesive.
Failing to Iterate and Refine Results
Small follow-up prompts, such as “make the background softer,” can fine-tune a result. Moneycontrol’s ChatGPT image-editing guide covers this approach. Always review the output before publishing.
Overlooking Resolution and Output Settings
Low-resolution exports and heavy compression hide errors until printing. Export a test crop at final size and inspect it at 100%, which helps you avoid these common mistakes before the file goes live.
When to Fix by Hand: A Decision Framework
Plot each artefact on two axes: how visible it is at 100% zoom, and how costly it is to fix. Low-visibility, expensive flaws can be accepted. High-visibility flaws that are cheap to fix by hand, such as an edge halo, go to manual repair first. High-visibility flaws that are expensive to fix, such as warped hands, unreadable text or a changed face, trigger regeneration with a tighter prompt. Deciding this in advance saves time, since you do not have to retry prompts endlessly, and it helps working professionals keep a delivery schedule on track.
Symptom
Likely cause
First fix (try a prompt)
Manual fix (when the prompt fails)
Plastic, waxy skin
Smoothing stacked on retouching
“Keep natural skin texture and pores”
Blend a texture layer back in at reduced opacity
Halo or smear at hair or edges
Weak subject-background separation
“Sharpen the edge where hair meets the background”
Refine the mask and clone the lost strands
Colour cast on skin or greys
Model-driven warmth or cool shift
“Neutralise the colour cast, keep skin tones”
White balance or selective colour adjustment
Distorted hands or garbled text
Anatomy and text errors
Regenerate the region with a tighter prompt
Clone or replace the area by hand
Face drifts across a set
Identity drift between outputs
Re-prompt with the locked reference image
Retouch features back to the reference
Checklist for a finished AI edit:
Compare the edit to the original at 100%, not fit-to-screen.
Check skin texture, edges and colour casts.
Verify lighting and composition against the scene.
Confirm consistency across the set against your reference image.
Test-export a crop at final size before delivery.
Step 4 matters most across a session. Imagen’s analysis of common preset mistakes notes that treating a preset as a one-click finish is a frequent error. Compare the first and last outputs side by side, since colour can drift across a session. Start each new session by checking the reference image, so a free or quick preset does not become a better-looking shortcut that hides drift.
For the basics, see our [skin retouching fundamentals](#) guide, and for file settings, see [export settings for web and print](#).
Does the Artefact Matter for Your Use Case?
Not every artefact carries the same cost. Marketplace listings need honest colour and proportions. Brand pages and LinkedIn headshots reflect on the business, so garbled labels or distorted hands matter. Casual social posts tolerate more stylisation. Set your acceptable threshold before editing.
Counterpoint: Sometimes Re-Prompting Is the Right Call
Manual repair has limits. Regenerate when flaws span the whole frame or are too costly to fix by hand, but tighten the new prompt first.
Conclusion: Edit With Restraint and Check at 100%
AI editing artefacts are predictable: over-smoothed skin, haloed edges, mismatched light, warped hands, garbled text and drifting facial features. Judge each flaw by whether it shows at 100% zoom and how cheaply it can be fixed.
Errors fall into three families: tonal over-editing, which Affinity warns can detract from the photo; structural artefacts such as edge halos and distorted anatomy; and vague or overloaded prompts.
Check each batch at 100%, fix edge and tone faults by hand, and regenerate only what is visible and expensive to fix.
Frequently Asked Questions
What are the most common AI photo editing mistakes?
The most frequent errors are over-processing, over-smoothed skin, halo-like edges, and mismatched lighting or shadows. Affinity’s beginner guide notes that brightness, saturation, sharpness and exposure are often pushed too far. AI tools also produce warped hands, garbled text and drifting facial features. Review every edit before use.
How do I stop AI from over-smoothing skin?
Lower any skin-smoothing strength, then ask explicitly for “pores and natural skin texture visible.” If skin still looks plastic, add a texture layer and blend it back at reduced opacity. Results depend on the tool and version.
When should I fix an AI edit by hand instead of re-prompting?
Fix small flaws, such as an edge halo, by hand with a mask or clone. Regenerate with a tighter prompt when the flaw would need a full manual rebuild, such as a changed face or distorted anatomy. Moneycontrol’s ChatGPT editing guide suggests a single follow-up prompt suits small changes.
Why do AI edits look fake at 100% zoom?
Hair-to-background edges, reflections, fabric weave and text look smooth at thumbnail size but smear or halo up close. Buzz Photography advises zooming to 100% to check edits, so make this a standard step before delivery.
How many follow-up prompts should I use?
Refine one major direction at a time, using two or three focused follow-ups. If the image is still wrong, further prompting usually adds new artefacts, so switch to a manual repair pass.
About the author
Tom Koh
Tom is the CEO of MediaOne, a leading digital marketing agency. He is a business-experienced SEO consultant as well as a Google Gold Search Expert serving the international community. He has consulted for MNCs like Canon, Maybank, Capitaland, SingTel, ST Engineering, WWF, Cambridge University, as well as Government organisations like Enterprise Singapore, Ministry of Law, National Galleries, NTUC, e2i, SingHealth. His articles are published and referenced in CNA, Straits Times, MoneyFM, Financial Times, Yahoo! Finance, Hubspot, Zendesk, CIO Advisor. Under his stewardship, MediaOne has won dozens of prestigious digital marketing awards.
Your website has 150 published articles. Some attract consistent organic traffic, others haven’t generated a meaningful visit in months, and several cover nearly identical…
Writing a good advertisement sounds simple until you have to create 15 different headlines, stay within character limits, communicate your product’s benefits, and make…
Verifiability matters more than speed when publishing AI-generated content. An AI content generator turns a short brief into draft copy, and its usefulness depends…