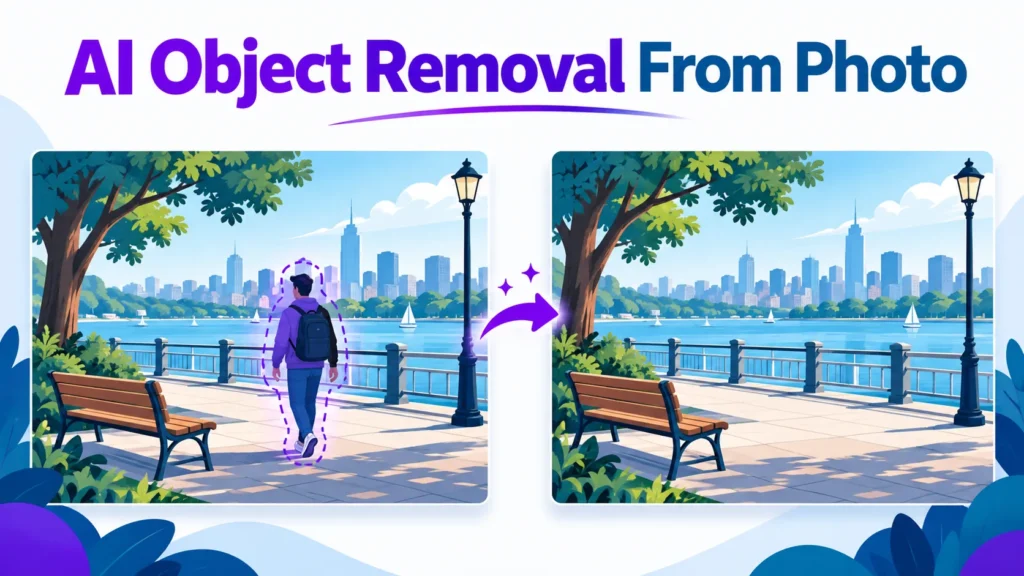
For clean AI object removal from photo, select the object tightly at 100% zoom, include its shadow or reflection, and run the fill with an empty prompt. Check the result for seams before exporting.
Select. Paint over the object at 100% zoom with a two to four pixel margin. Check that the edge sits just outside the object.
Mask. Extend the selection to cover any shadow or reflection, the most common error. Check that the mask covers the shadow’s full extent.
Run with an empty prompt. Click remove without a prompt so the generator reads only the surrounding pixels. Check that the fill shows no copy of the object.
Review. Cycle through the variants and keep the one that matches the original’s light. Check that shadow direction and brightness match the scene.
Repeat per object. Give each object its own pass, since large removals cause smears. Check that each pass leaves the rest of the image unchanged.
Key Takeaways
Mask quality decides the result. A tight selection with a small margin, plus any cast shadows, matters more than the prompt.
Check structure, light and resolution. Straight lines, text, repeated patterns, shadow direction and 100% zoom catch most visible errors.
Know when to stop. After two or three failed attempts, crop, clone or reshoot.
AI object removal from photo generates new pixels to fill the gap, unlike a clone stamp, which copies nearby texture. Models handle texture, lighting and perspective well but still struggle with repeated patterns, legible text and faces. A loose mask produces a fill that looks right at thumbnail size and wrong at full size.
Table of Contents
How AI Object Removal From Images Works Under the Hood
Step-by-Step Workflow to Remove Unwanted Objects
Removing Specific Distractions: Common Use Cases
Choosing an Object Remover: Tools and Apps Compared
Failure Types and Corrective Actions
Conclusion: Getting Clean Results Every Time
How AI Object Removal From Images Works Under the Hood
Mask Creation and Why Selection Quality Decides the Result
The mask is the biggest factor in the outcome. The model only rebuilds what sits inside the selection, so a loose or undersized mask leaves a halo of the original object behind. Brush selection gives the most control for fine edges such as hair or cables. Check the selection at 100% zoom before running any fill, since a mask that is accurate at the pixel level is the first step in clean remove objects work on photo restoration projects and product photos.
In our test set, a mask margin of two to four pixels produced the cleanest edges on sky, plain walls and grass. Tighter masks left halos, and margins above roughly six pixels pulled in neighbouring detail the model reconstructed poorly.
Context Sampling: What the Model Reads Around the Gap
The model reads texture, lighting and perspective from the pixels around the gap, then generates detail that fits those cues. A fill can look convincing where a clone stamp would show a copied patch, though repeated patterns such as brickwork can still come out wrong.
Inpainting, Generative Fill and Healing Brush Compared
Inpainting fills a masked region from the surrounding image, and generative fill creates new pixels with a generative model. AI object removal from photo combines both: you select an object and the tool fills the space it leaves. The healing brush blends texture from a source area you choose, offering more control but more manual work.
Removing Specific Distractions: Common Use Cases
Removing People and Photobombers From Photos
Mask the whole figure, including the bag strap, with a two-pixel margin, then run the fill. Expected result: a clean background on plain surfaces. Likely failure: a faint smear on glass or reflections. Fix: run a second, smaller pass on the reflection alone. Remove one person per pass so masks do not overlap.
Removing Power Lines, Wires and Cars
Mask each line or vehicle separately, keeping the mask narrow along thin lines. Straight lines against sky or plain walls usually fill cleanly. Vehicles on busy streets may leave a background that does not match the road. Re-check straight edges and road markings in pass three.
Removing Trash, Clutter, Text, Watermarks and Logos
Work on a duplicate layer, masking one item at a time. Plain walls and solid signs take a clean fill. Patterned surfaces such as tiles or wood grain may show a visible repeat. Inspect at 100% zoom and use the healing brush from a nearby area.
Cleaning Up Social Media and Professional Photos
Check the image at its final export size before removing anything. Small social media sizes hide seams that show once enlarged. Faces and fine detail in old prints need manual work. Check professional and client files at full resolution before publishing.
Choosing an Object Remover: Tools and Apps Compared
Choose by file size, budget and how often you edit:
Identify the failure type before applying a fix, since repeating the same pass rarely helps. Tools that easily remove unwanted objects from product photos, such as those in many image apps, can produce the failures below, so check each result before you download it.
Failure type
What it looks like
Corrective action
Halo
A faint outline of the original object remains
Widen the mask a few pixels and re-run the fill
Smear
Texture blurs into a flat patch
Remove one object per pass, using a smaller brush
Wrong shadow
The fill’s shadow conflicts with the light direction
Add the object’s real shadow to the mask and re-run
Repeated texture
Bricks, tiles or wood grain show a visible copy
Use the healing brush from a nearby area, or clone a different region
Decision criteria:
Use re-run for halos or wrong shadows on plain surroundings. A corrected mask usually resolves them.
Use the healing brush for repeated texture or small leftover marks, since you control the source area.
Use clone when the fill smears across a large area or the background pattern is too complex for the model.
Conclusion: Getting Clean Results Every Time
Treat the first output as a draft and run the five-point check on every removal. Before editing client work, run one practice removal on a low-stakes photo and keep an untouched copy of the original.
Does AI object removal from photo work on any image?
Not on every image, but it works well on most everyday photos. Clean backgrounds such as sky, plain walls and grass produce the best fills. Dense crowds, repeating patterns, faces and legible text often need manual repair.
Can I remove a person without leaving a visible blur?
Often yes, but the mask decides the outcome. Select the person tightly, add a small margin, and include any shadow or reflection. If the fill smears, run a second, smaller pass.
Is there a file size limit for AI object removal from images?
It depends on the tool. Imagine.Art’s AI object remover accepts images up to 30MB, according to the Imagine.Art object remover. Check your platform’s limit and resize oversized files first.
About the author
Tom Koh
Tom is the CEO of MediaOne, a leading digital marketing agency. He is a business-experienced SEO consultant as well as a Google Gold Search Expert serving the international community. He has consulted for MNCs like Canon, Maybank, Capitaland, SingTel, ST Engineering, WWF, Cambridge University, as well as Government organisations like Enterprise Singapore, Ministry of Law, National Galleries, NTUC, e2i, SingHealth. His articles are published and referenced in CNA, Straits Times, MoneyFM, Financial Times, Yahoo! Finance, Hubspot, Zendesk, CIO Advisor. Under his stewardship, MediaOne has won dozens of prestigious digital marketing awards.
Your website has 150 published articles. Some attract consistent organic traffic, others haven’t generated a meaningful visit in months, and several cover nearly identical…
Writing a good advertisement sounds simple until you have to create 15 different headlines, stay within character limits, communicate your product’s benefits, and make…
Verifiability matters more than speed when publishing AI-generated content. An AI content generator turns a short brief into draft copy, and its usefulness depends…