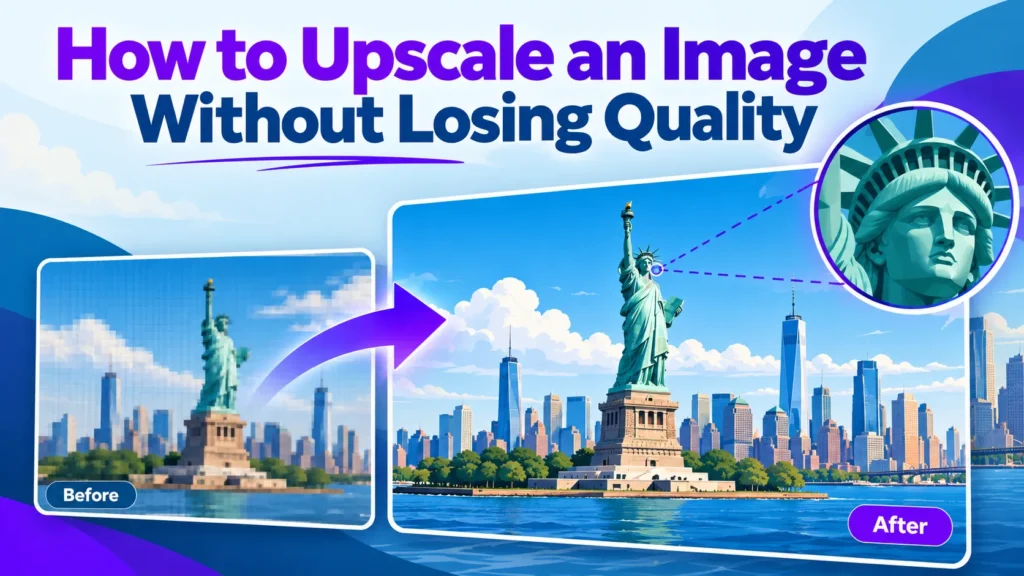
Can you upscale an image without losing quality? Only partly. Upscaling adds pixels but cannot recover detail the camera never captured. Realistic results come from modest scale factors, usually 2x to 4x, on a clean source file.
For web and social use, a 2x or 3x resize is usually enough. For print, aim for about 300 dpi at final dimensions. Before you [download](…) an upscaler, check whether your [photo](…) is already sharp enough.
Upscaling adds pixels the original never recorded, so it cannot restore lost detail.
Choose the scale factor from output size: 2x or 3x suits web and social media.
For print, aim for about 300 dpi at final size. Past 4x, AI often adds waxy textures.
Denoise compressed sources first, as AI can amplify noise.
Check faces, text and fabric at 100% zoom, since AI can invent wrong detail.
Table of Contents
Why Upscaling Often Looks Worse Than the Original
Traditional Methods: Bicubic, Lanczos and Photoshop
AI Image Upscaling: How It Recovers Detail
Step-by-Step Workflow to Upscale an Image Without Losing Quality
Frequently Asked Questions
Why Upscaling Often Looks Worse Than the Original
Upscaling enlarges an image by adding pixels, but enlargement alone rarely improves a photo. The source file matters more than the tool. A clean original resized with a simple method usually beats a noisy one run through a free AI image enhancer.
What Upscaling Actually Does to Pixels
Upscaling adds pixels between the recorded grid, and the software must estimate each one. Traditional methods average neighbouring pixels, while AI methods predict missing texture. Either way, the new pixels are estimates, not recorded information. A 600 × 400 pixel photo enlarged to 2400 × 1600 has sixteen times as many pixels, but no more real detail. Before you upload your image to any tool, check that the original is sharp and free of noise.
Common Quality Problems: Blur, Halos and Jagged Edges
Symptom
Likely Source
Soft, waxy surfaces
Interpolation smoothing fine texture
Ringing or pale outlines around edges
Over-sharpening or aggressive resampling
Blocky or stair-stepped edges
Low source resolution with no smoothing
Grainy blotches, colour speckle
Noise amplified along with the image
Visible smudges in JPEG-style patterns
Compression artefacts enlarged with the picture
Denoise or clean compression artefacts before you enlarge, and avoid heavy sharpening afterwards. Check results at full size before downloading.
Traditional Methods: Bicubic, Lanczos and Photoshop
Before AI tools, every upscale relied on interpolation. Bicubic and Lanczos are the two most common methods. Both estimate each new pixel by averaging its neighbours, weighted by distance. Lanczos keeps edges crisper but can add faint ringing along hard contrast lines.
Bicubic suits smooth gradients, skies and product backgrounds. Lanczos suits sharp graphics and text, and often beats AI output for a simple resize of a clean graphic.
Upscaling in Photoshop and Lightroom: Step by Step
In Photoshop, open Image Size, untick “Resample”, and choose Preserve Details. Menu names change between releases, so confirm the path in your version’s help pages. Set the output dimensions, then apply a light Reduce Noise pass if the source is compressed. Lightroom’s export resize does not reconstruct detail, so use it for final sizing only.
Where Traditional Resizing Reaches Its Limit
Interpolation can smooth fine texture but cannot restore it. Fabric weave, hair and foliage come out soft because the missing information was never recorded. For a blurry source, AI upscaling is often the better way to upscale image without losing quality.
AI Image Upscaling: How It Recovers Detail
AI upscalers do not recover detail the camera never captured. They predict plausible texture from patterns learned during training, so the gain is an estimate, not a recovery. A good photo enhancer should be judged on whether its additions are faithful to the original. Before you upload an image, decide how much invented detail you can accept.
How AI Models Infer Missing Detail
Most tools use trained super-resolution networks that learn what soft edges and fabric weaves usually look like at higher resolution. The output is a best guess, so verify each enhancement against the original in a photo editor. Adobe’s documentation for Preserve Details notes that enlargement settings estimate rather than restore pixels. An image enhancer that relies on these models should be checked the same way.
A Concrete Test: Faithful Versus Invented Detail
Take a product photo of a woven bag, shot at a small size. Upscale it once with a plain Lanczos resize and once with an AI model. The plain resize softens the weave but keeps every stripe in place. The AI version looks crisper, yet a stitch line may appear that the original never showed. For a product listing, the plain resize is the safer choice, and a background remover can isolate the bag first if the backdrop is distracting.
Benefits and Trade-offs of AI Upscaling
AI handles edges and mid-scale texture better than bicubic or Lanczos resizing. The trade-off is over-processing: faces can look waxy and text can warp. Download the result only after checking it at full size.
Use Case
Traditional Resize
AI Upscaling
Web banner, under 2x
Adequate and fast
Usually a small gain
Product photo with fine texture
Soft but faithful
Sharper, check for invented patterns
Portrait or faces
Safe, no invention
Risk of waxy skin, verify at 100%
Printed flyer at 300 dpi
Limited by source
Better edges, cap at 4x
Comparing AI Upscaling Tools
Limits and plans change often, so confirm current details on each provider’s page before committing a batch. Check free tier limits first.
Upscayl: supports 2x to 4x scaling, accepting JPG, PNG, WEBP and ZIP files up to 20 MB each, up to 5 images at once. Upscayl, as of its official site.
Clipdrop: scales images up to 4x for free and accepts up to 10 files at a time. Pixelbin guide, as reported in that guide.
Upscale.media: upscales images up to 8x. Guests are limited to 1,250 x 1,250 px input. Upscale.media, as stated on its site.
Step-by-Step Workflow to Upscale an Image Without Losing Quality
Most poor upscales come from skipping the planning step. Decide the output size first, then choose the scale factor and method, so you do not invent pixels you do not need. An image upscaler can enhance a small picture only when the plan behind it is sound. Free tools suit simple web jobs, while a dedicated image enhancer may be needed for print.
Checklist Before You Upscale
Start from the largest, least-compressed source you have. Heavily compressed JPEGs give the model artefacts to amplify. Clean up noise in a photo editor, keep the original untouched, and upload the cleaned copy to your image upscaler.
Choose the scale factor from the use. Work out the final pixel dimensions, then divide by the source size. For most photos, 2x to 4x is the practical range.
Upscaling for Print Versus the Web
Print: An A4 flyer read at arm’s length usually needs about 300 dpi, so the width should be roughly 2480 pixels.
Web: Export to the displayed size plus a margin for high-density screens. Use WebP where supported, otherwise JPEG.
Quality Checks After Upscaling
Zoom to 100% on faces, text, logos and fine edges, where artefacts show most clearly.
Compare each area against the original. Look for waxy skin, smeared fabric texture and letters that have turned into near-misses.
Check straight edges for halos from over-sharpening.
Confirm the final dimensions match your target, then view the export on the device the image will be seen on.
Decision Table: Matching Source Width and Use to a Scale Factor
Source Width
Output Use
Suggested Scale
Suggested Method
Already near the target size
Web or social media
No upscale, or 2x at most
Light resize only
Small web image
Web banner or social post
2x
Traditional resize, or AI for fine texture
Small photo, detailed texture
Product or print preview
2x to 3x
AI upscale, then check at 100%
Very small source
Print at around 300 dpi
4x at most
AI upscale, then judge at printed size
Frequently Asked Questions
Can you upscale an image without losing quality?
Not fully. Upscaling adds pixels but cannot recover detail the original never captured. Start from the cleanest source you have, use 2x to 4x, and check the output at 100% zoom before exporting.
Is AI upscaling better than Photoshop?
For most photos, AI upscaling gives cleaner edges and more natural texture than bicubic or Lanczos resizing. Photoshop still suits precise control. Test both on the same file before choosing.
What scale factor should I use?
Divide target dimensions by source dimensions, then round up to 2x, 3x or 4x. Beyond 4x, many tools invent texture that only looks sharp at thumbnail size.
Does upscaling make an image suitable for print?
Only if the pixel count reaches your print target. A4 at roughly 300 dpi needs about 2,480 pixels on the long edge. Judge the result at printed size.
Are free online upscalers safe for private photos?
Read each service’s file-handling policy before uploading personal images. For identifiable people, use an offline tool or a provider with a clear retention policy.
Conclusion
No tool restores detail the camera never captured. Start with the largest, least-compressed source and set the scale from the final output size. Check AI results at 100% zoom, especially faces and text. For most photos, a conservative 2x or 3x upscale beats 8x.
About the author
Tom Koh
Tom is the CEO of MediaOne, a leading digital marketing agency. He is a business-experienced SEO consultant as well as a Google Gold Search Expert serving the international community. He has consulted for MNCs like Canon, Maybank, Capitaland, SingTel, ST Engineering, WWF, Cambridge University, as well as Government organisations like Enterprise Singapore, Ministry of Law, National Galleries, NTUC, e2i, SingHealth. His articles are published and referenced in CNA, Straits Times, MoneyFM, Financial Times, Yahoo! Finance, Hubspot, Zendesk, CIO Advisor. Under his stewardship, MediaOne has won dozens of prestigious digital marketing awards.
Your website has 150 published articles. Some attract consistent organic traffic, others haven’t generated a meaningful visit in months, and several cover nearly identical…
Writing a good advertisement sounds simple until you have to create 15 different headlines, stay within character limits, communicate your product’s benefits, and make…
Verifiability matters more than speed when publishing AI-generated content. An AI content generator turns a short brief into draft copy, and its usefulness depends…